Create http pipeline
in Blog
Let’s try to receive some messages over http. We can use Postmen to send messages for testing. We need to change how our pipeline looks like a little bit. sudo bin/logstash -e ‘input { http { } } output {stdout { } }’ - basic pipeline from https://www.elastic.co/guide/en/logstash/1.5/first-event.html
Open Postmen and choose ‘Post’ option. In url field add your public Logstash VM IP with port :8080 (default for http). Add valid JSON to the ‘body’ field to test.
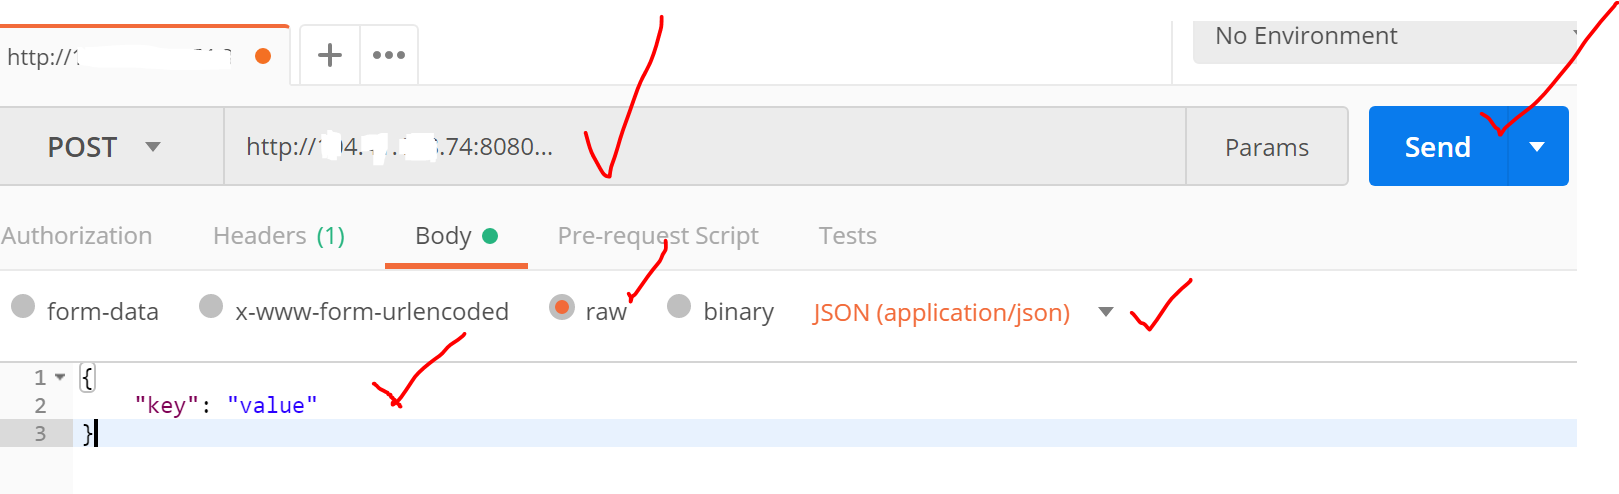 Choose ‘application/json’ format and ‘raw’. If you will click on ‘Send’ you will receive and error. Port 8080 isn’t open on your logstash VM by default. We can open this port for testing.
Choose your Logstash VM in Azure. Click on ‘Networking’ -> ‘Add inbound rule’ -> choose ‘Basic’ and add port 8080, then click add. 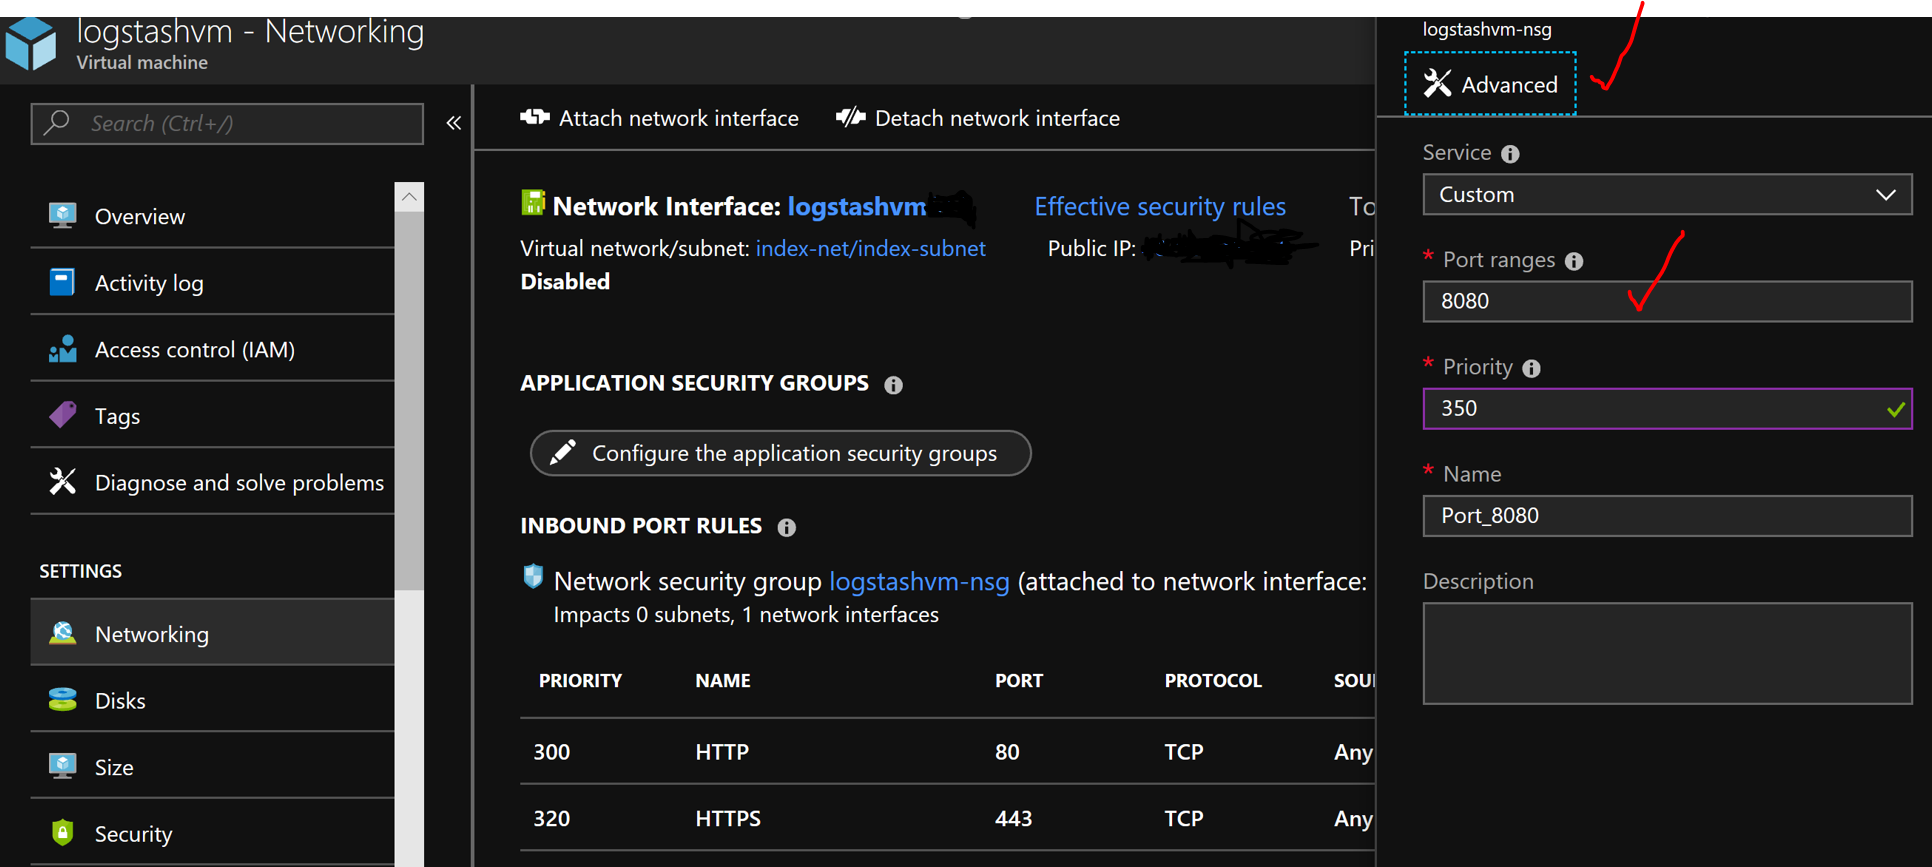
You can click on ‘Send’ now in Postmen and wait for result.
- Everyone can send messages to your Elastic Search VM now. We should allow to send messages only for those who remember password and username ;) More info - https://www.elastic.co/guide/en/logstash/6.2/ls-security.html Lets add some basic authentication. You remember during the Elastic Search provisioning we created one client (you can find your client VM in your Azure Elastic Search resource group). We want to send data to our client. Let’s change our pipeline and add your password and username.
sudo bin/logstash -e ‘input { http { } } output {elasticsearch { hosts => [“elasticclient-0”] user => yourusername password => youruserPassword } }’
But still everyone can send messages to your Logstash VM. For example you can see some activities from web crowler.
4.