VSTS and VS Code
in Blog
- Register in VSTS because VSTS gives you free unlimited private repos. https://visualstudio.microsoft.com/team-services/
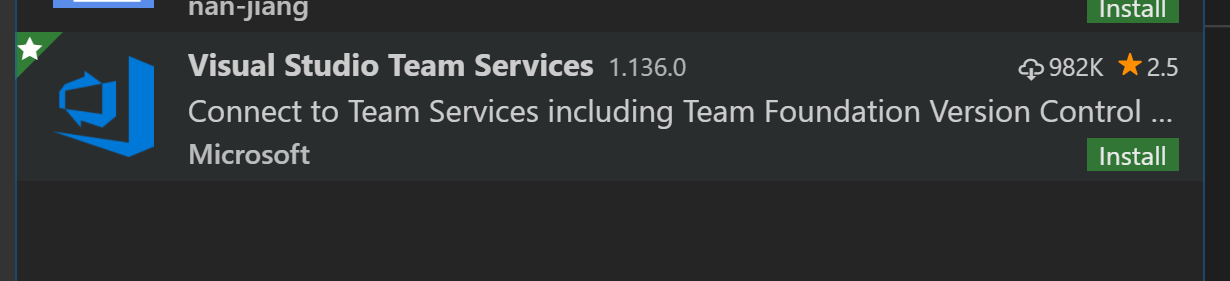
- Find and install extension in VS Code for VSTS
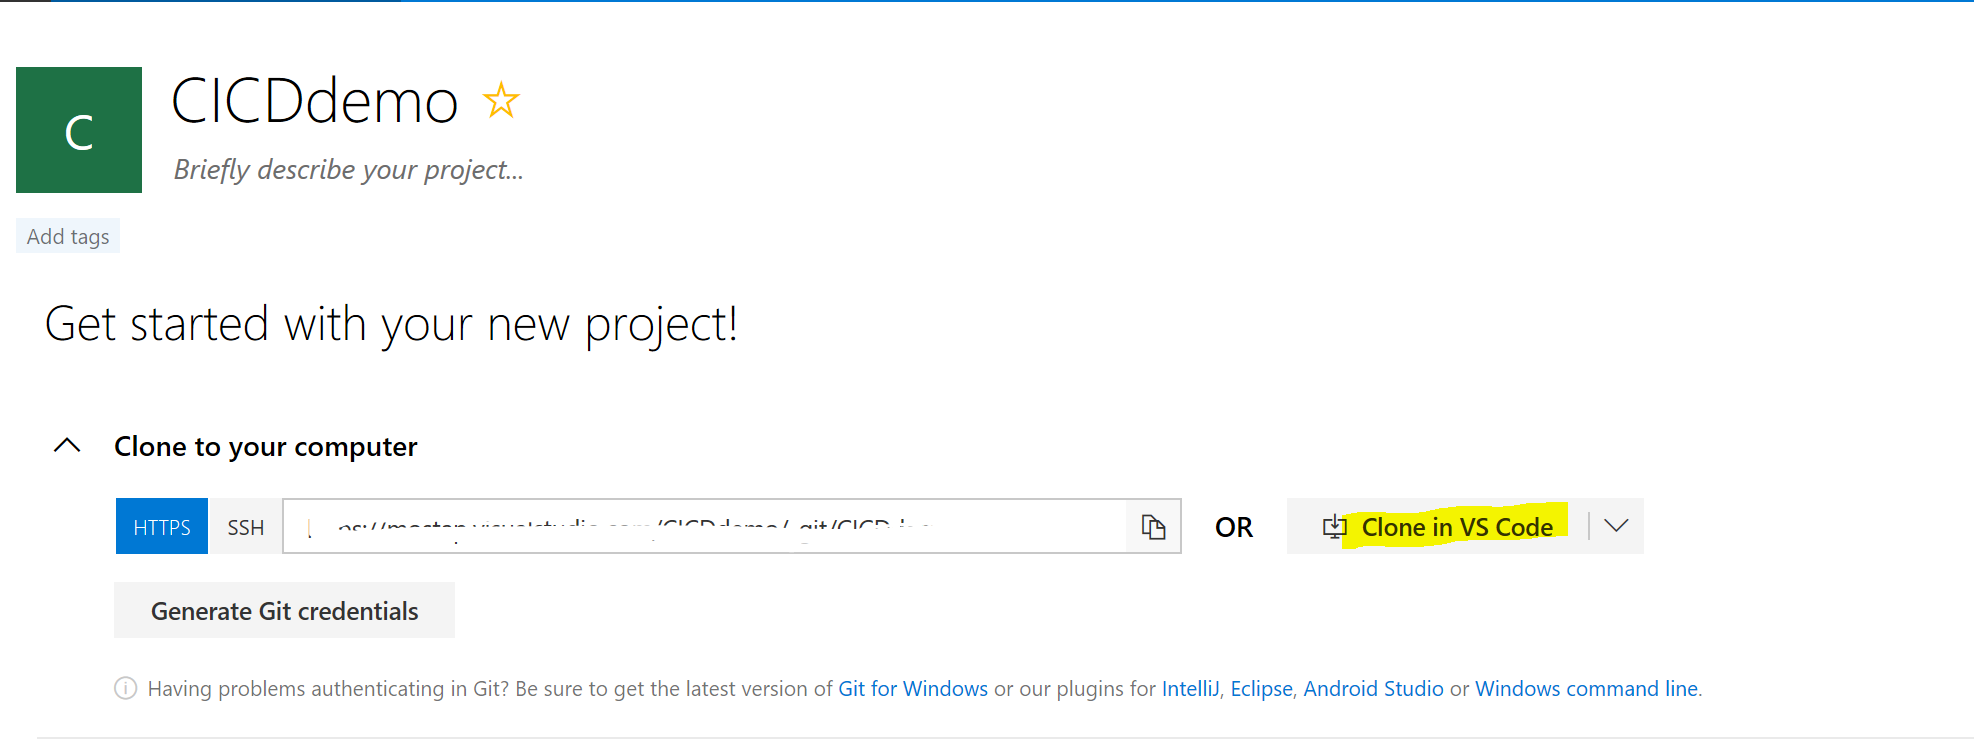
- Create new project in VSTS and open it. Choose option – Clone in VS Code.
- Select a local folder where you will write your code.
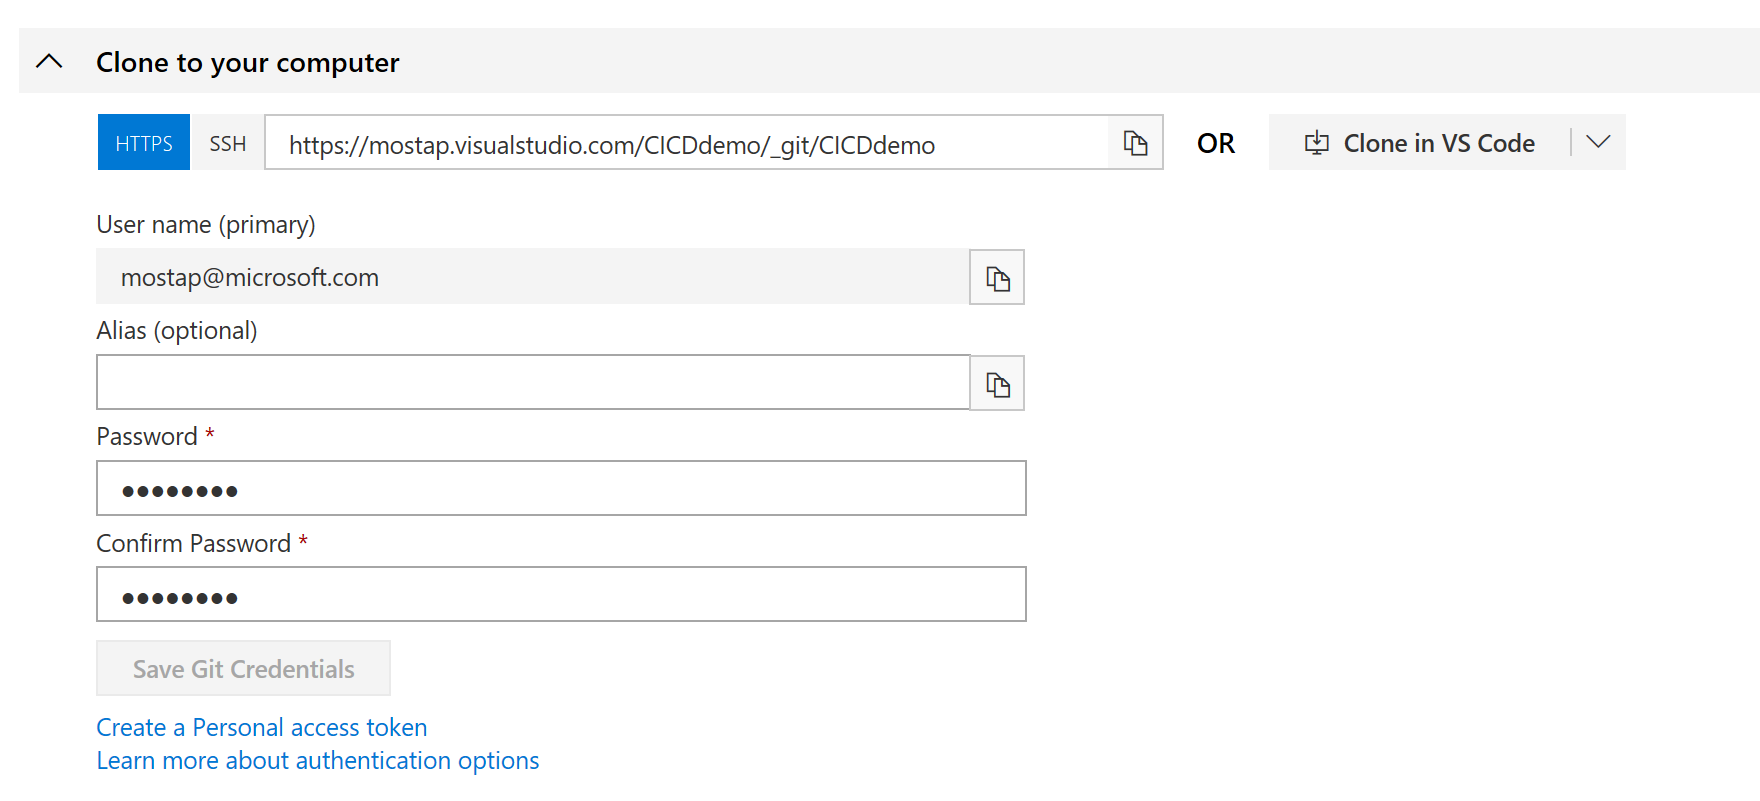
- After click on “Generate Git Credentials” in VSTS. Choose “Generate personal access token option”
 Copy generated token.
 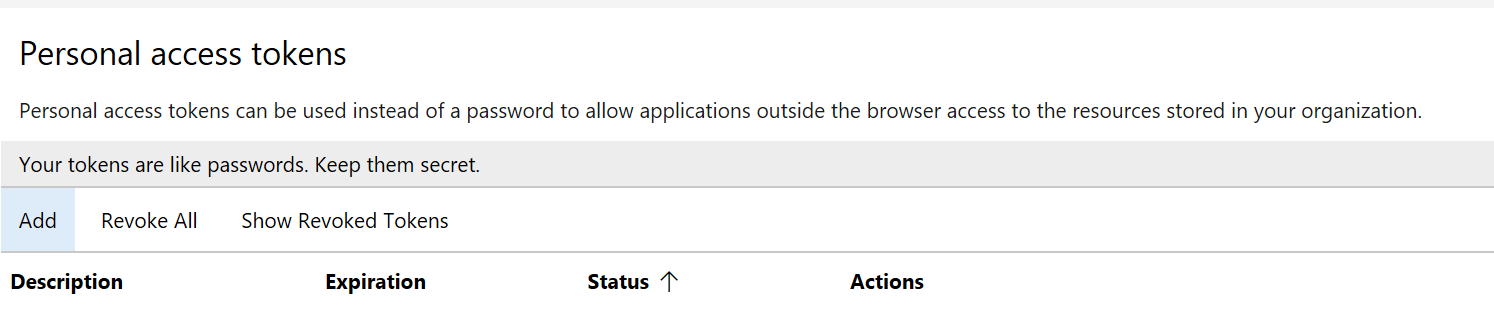 Switch to VS Code and click on “Teams” at the bottom left conner and select first option - “Provide an access token manually” and paste token that you just copied.
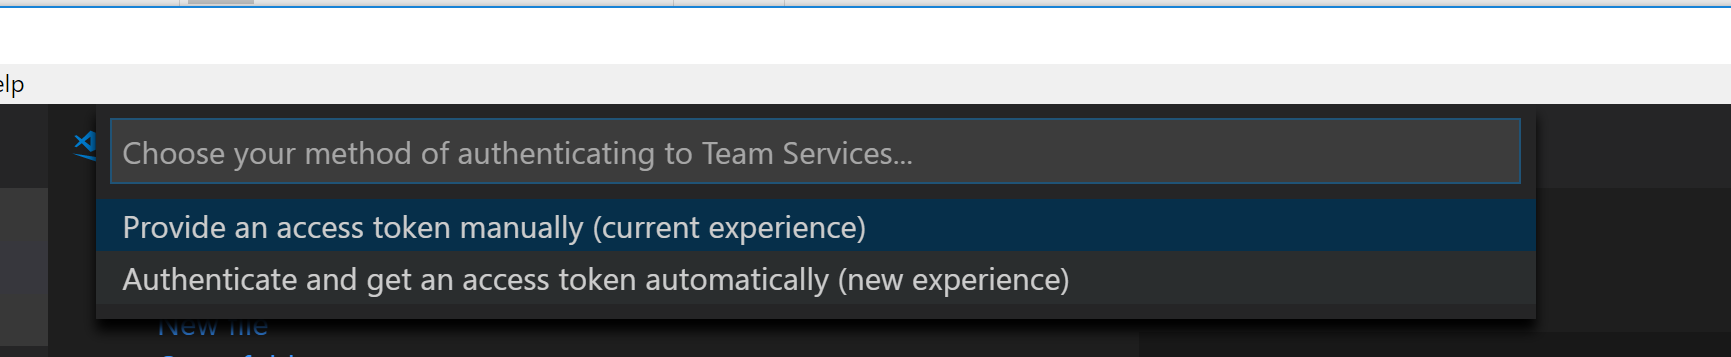
- After you added your token, you would see you project name at the bottom left conner instead of “Teams”.
 Add some files for your project and commit changes.
 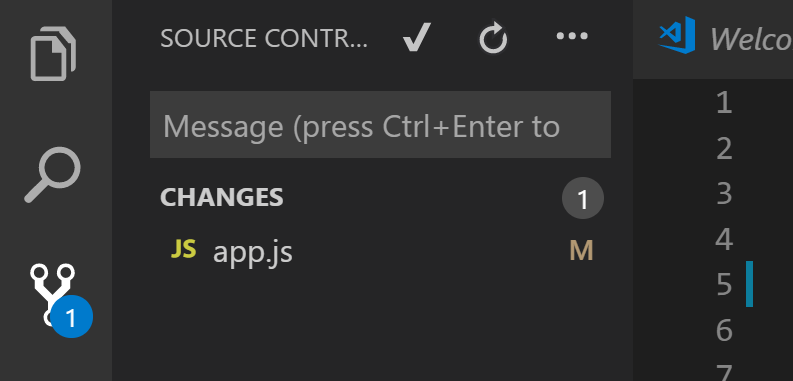 When you click on tree dots and choose ‘Push to…’ you will see your VSTS repo. If you return back to VSTS click on Code tab you will see your changes there.
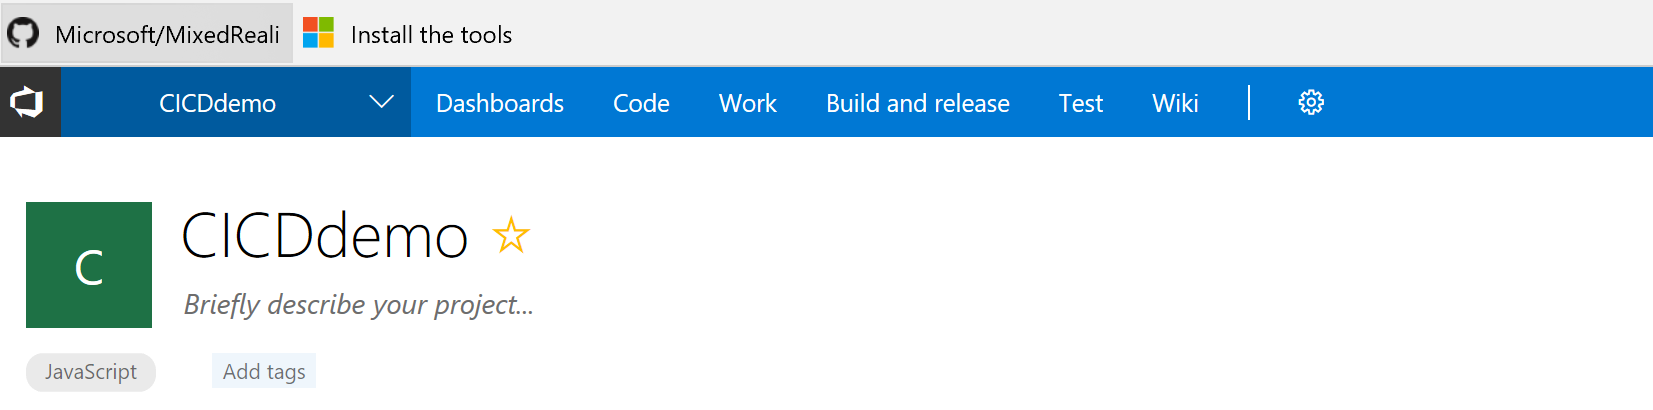
- Let’s set up our build. Click on ‘Build and Release’ and then click on ‘New pipeline’
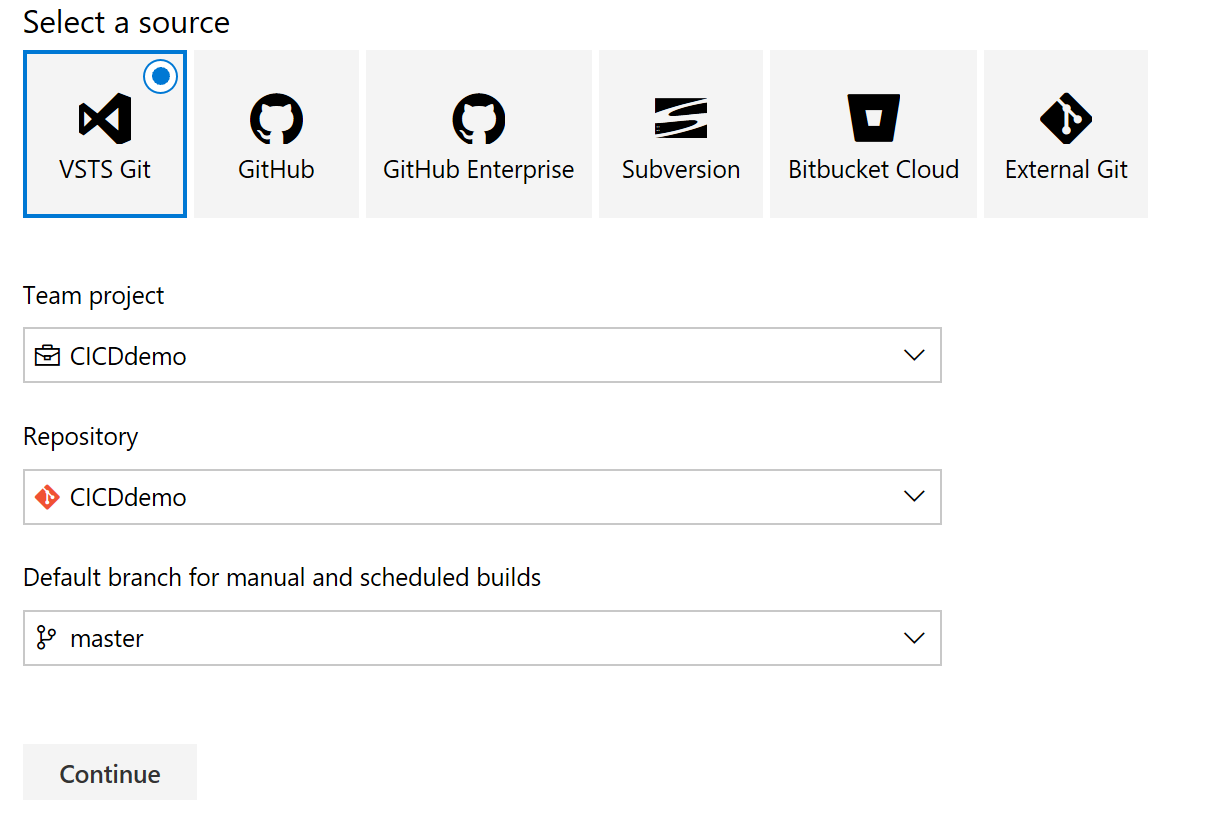
- Choose a source
- Choose template for Docker container image.
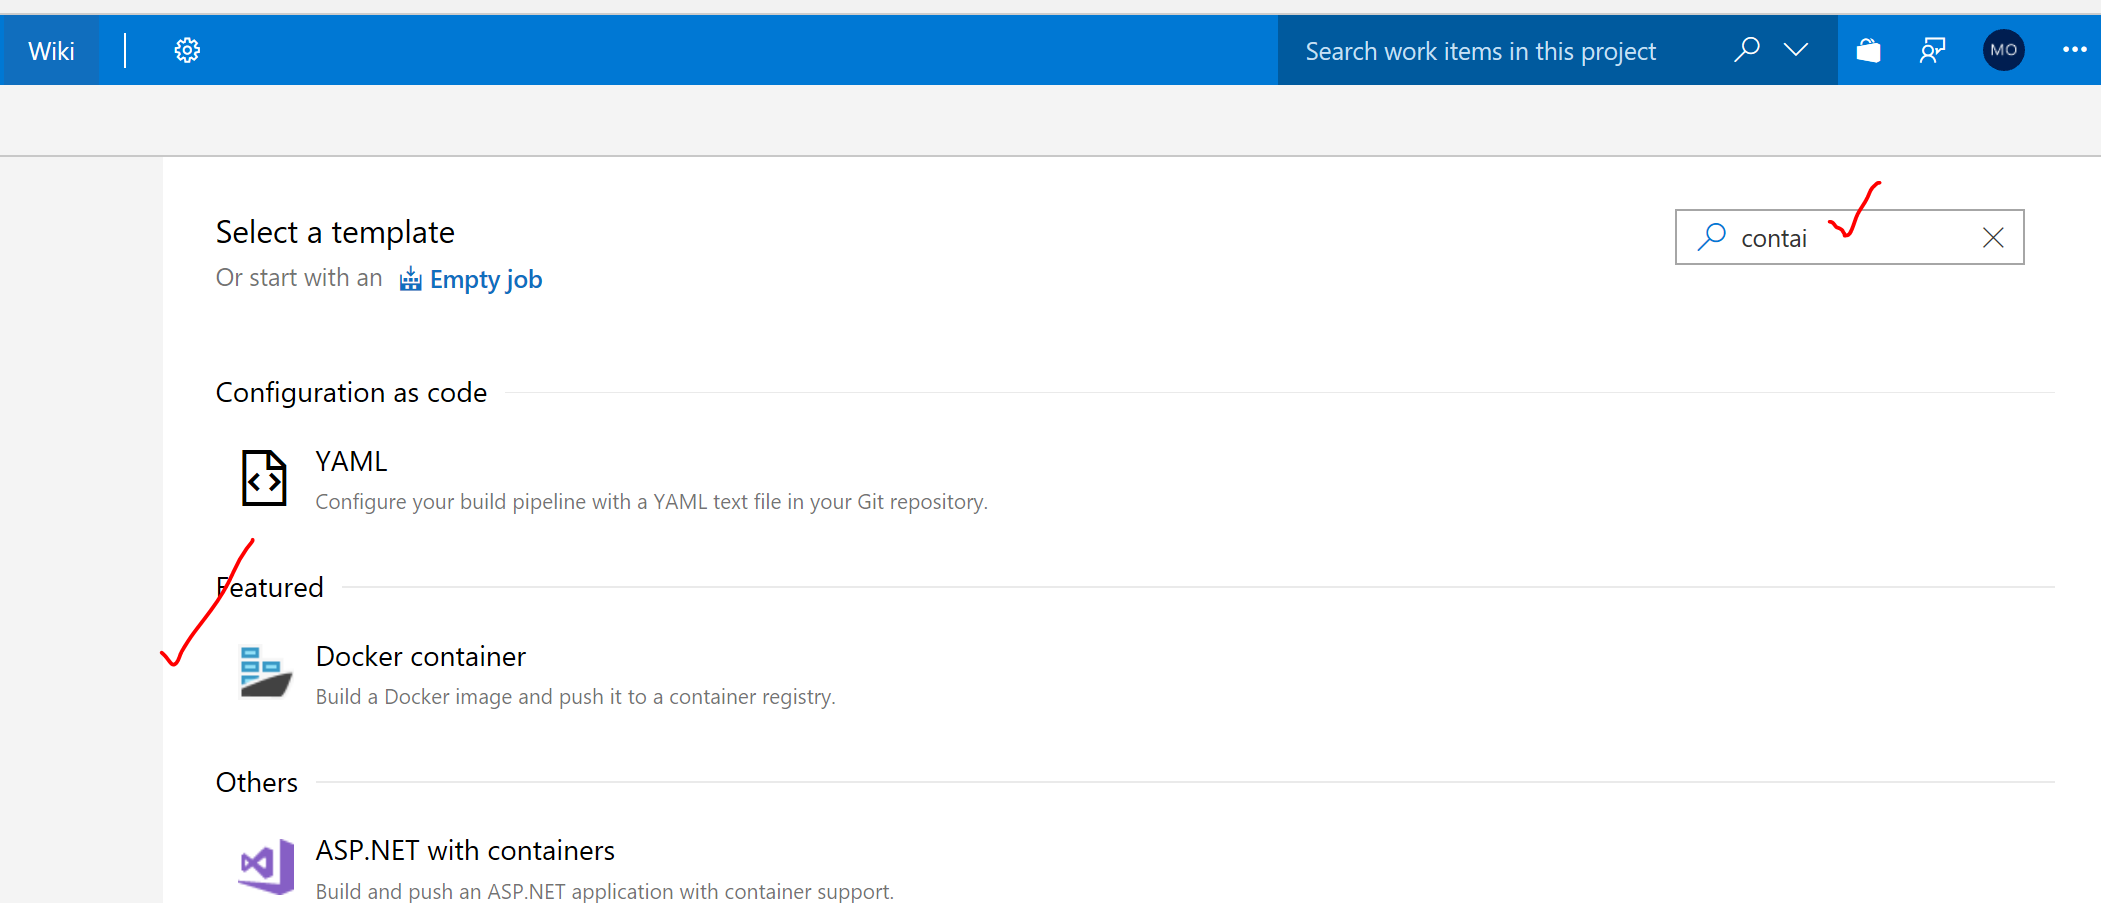 If you are using tempalte VSTS automatically generate two tasks for you Also we can choose an agent – server where VSTS will run your code. (those servers could be private too).
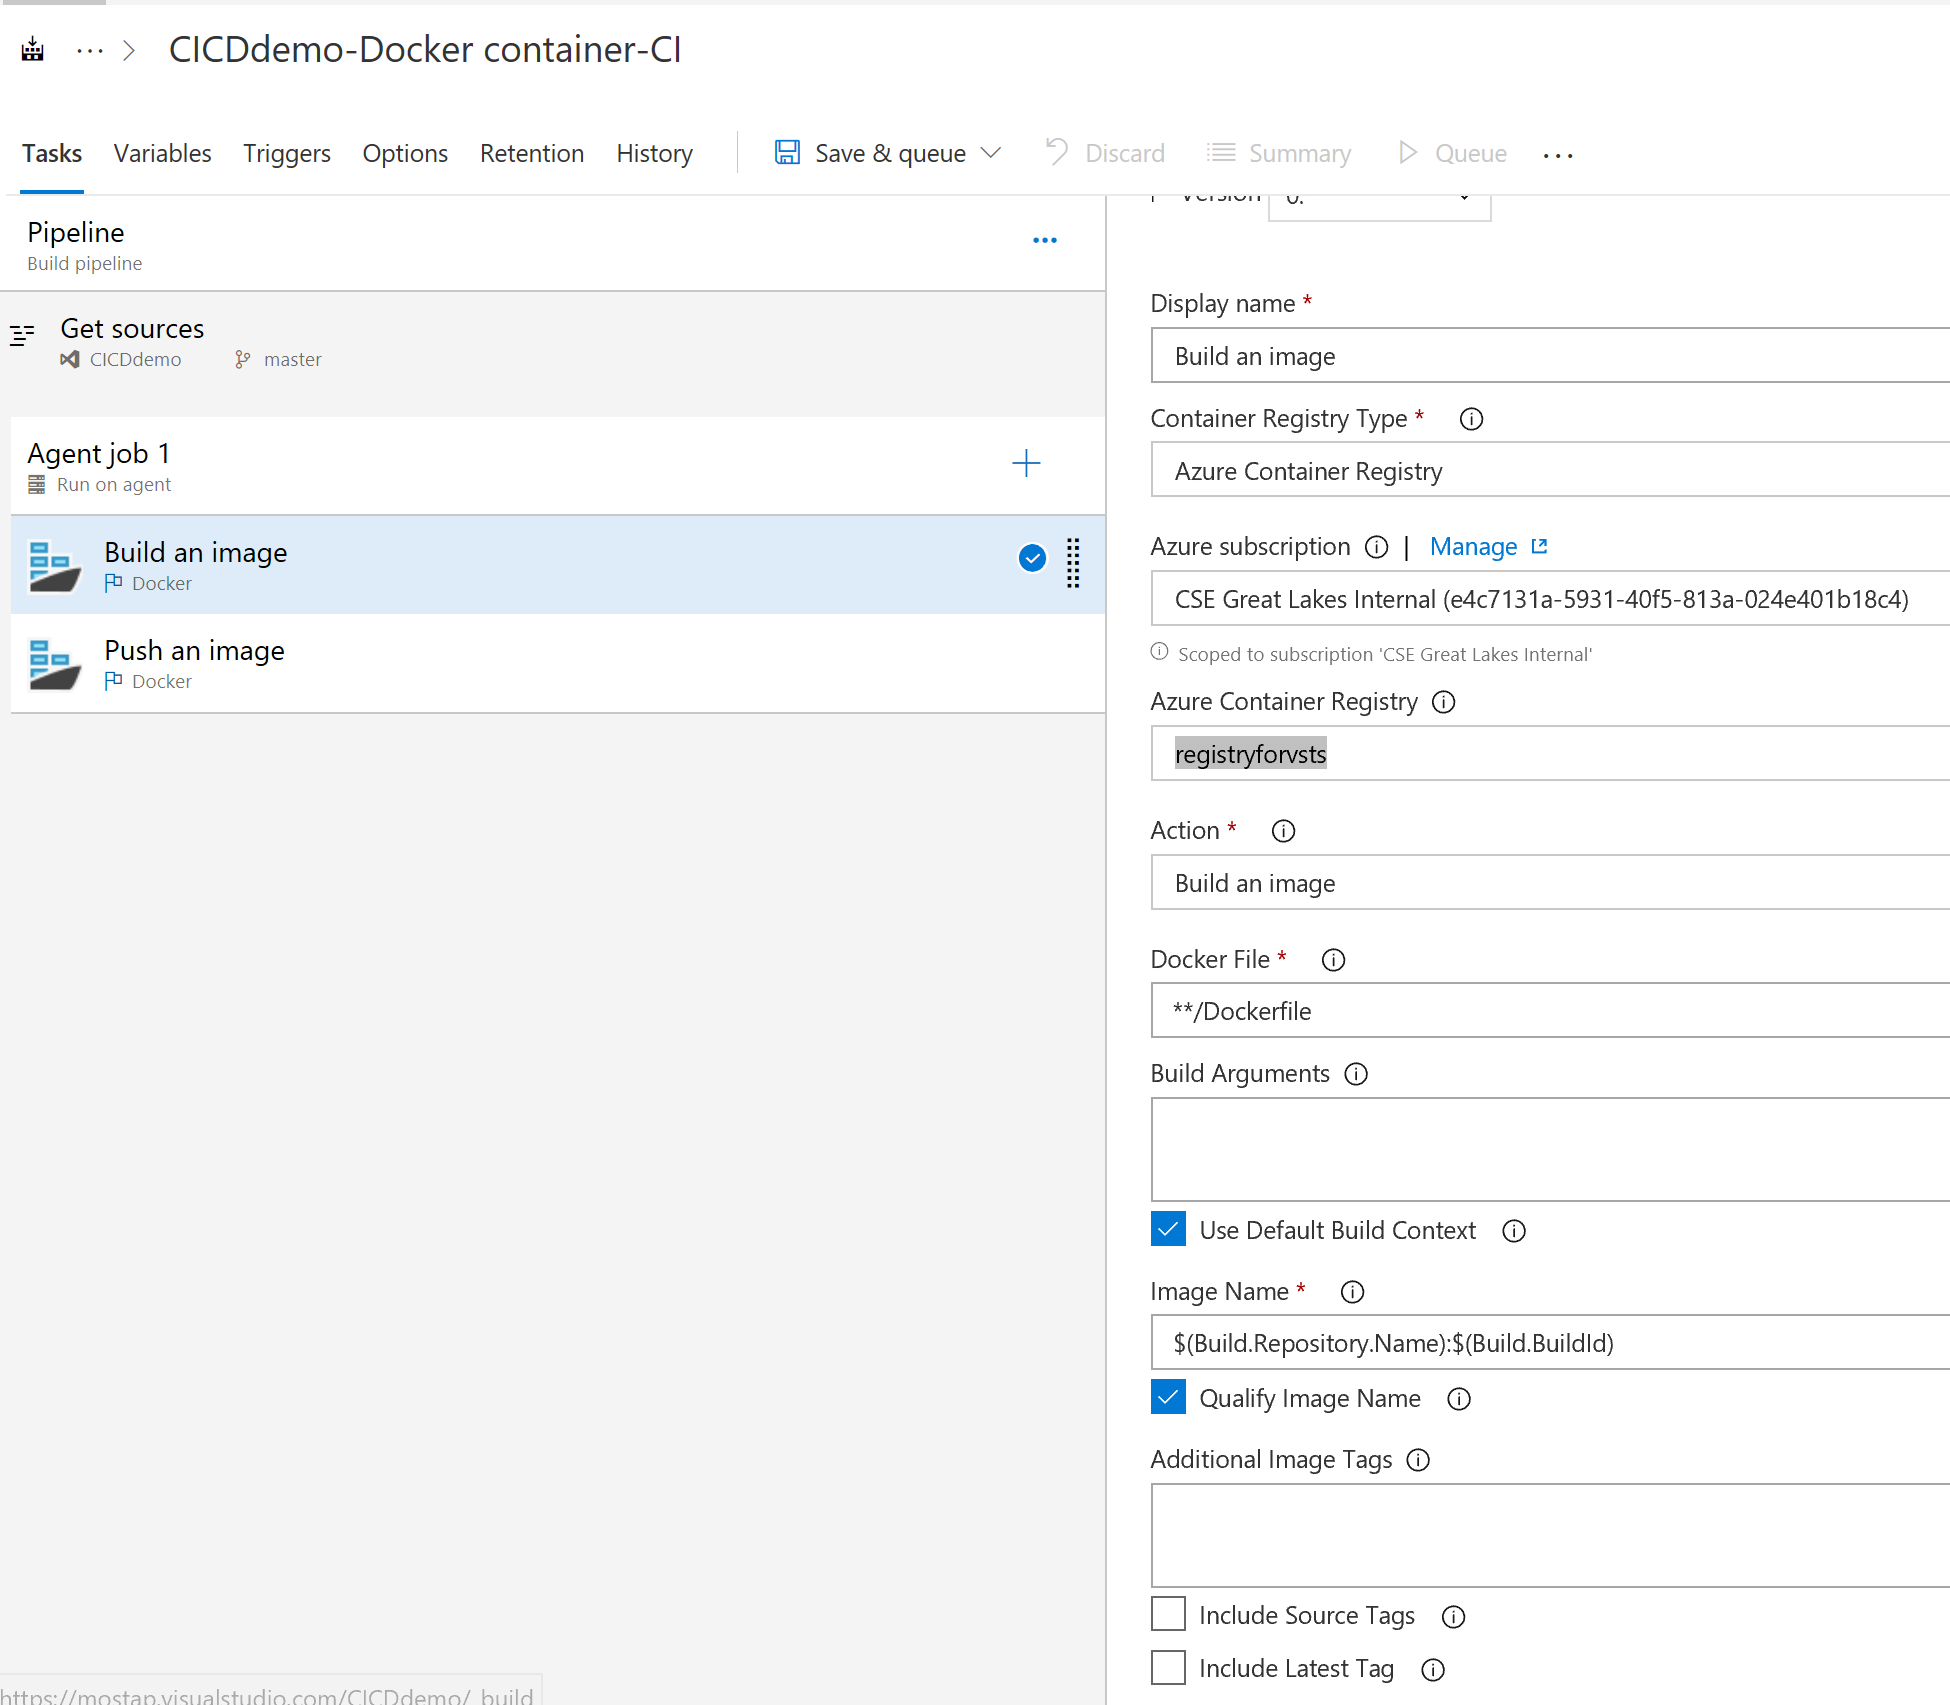
- You need to choose your Azure Subscription if you want to push your image to Azure. We are going to use Azure Container Registry for our images. Click on ‘Authorize’ button, it will allow your to choose your existing Azure Container Registry from the list. (I created Azure Container registry before using Azure portal) Choose your Dockerfile that you committed to your VSTS repo before.
- Lets switch to the second automatically generated task - “Push an image”. (You don’t need to save changes to navigate between tasks.) Repeat the same steps and after click on ‘Save and Queue’. Here you can change some settings or leave it as it is. You will see the following
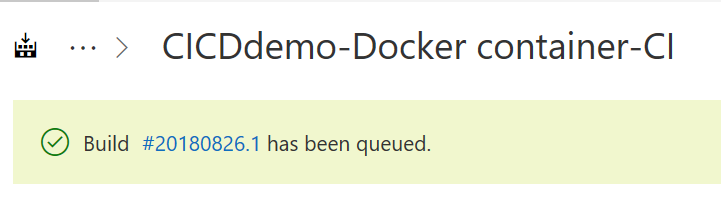
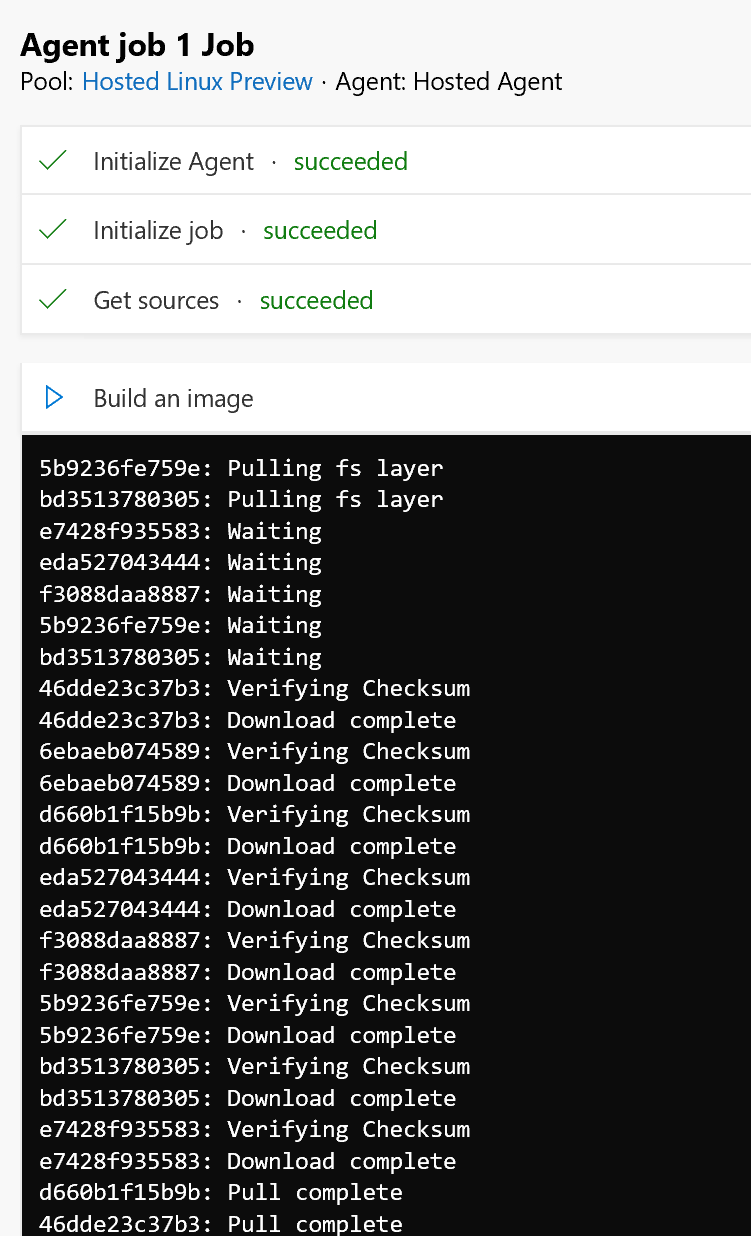
- Click on Build number and you will be able to see the status.
 When your job succeeded you can move to Release by simply pushing on Release button.
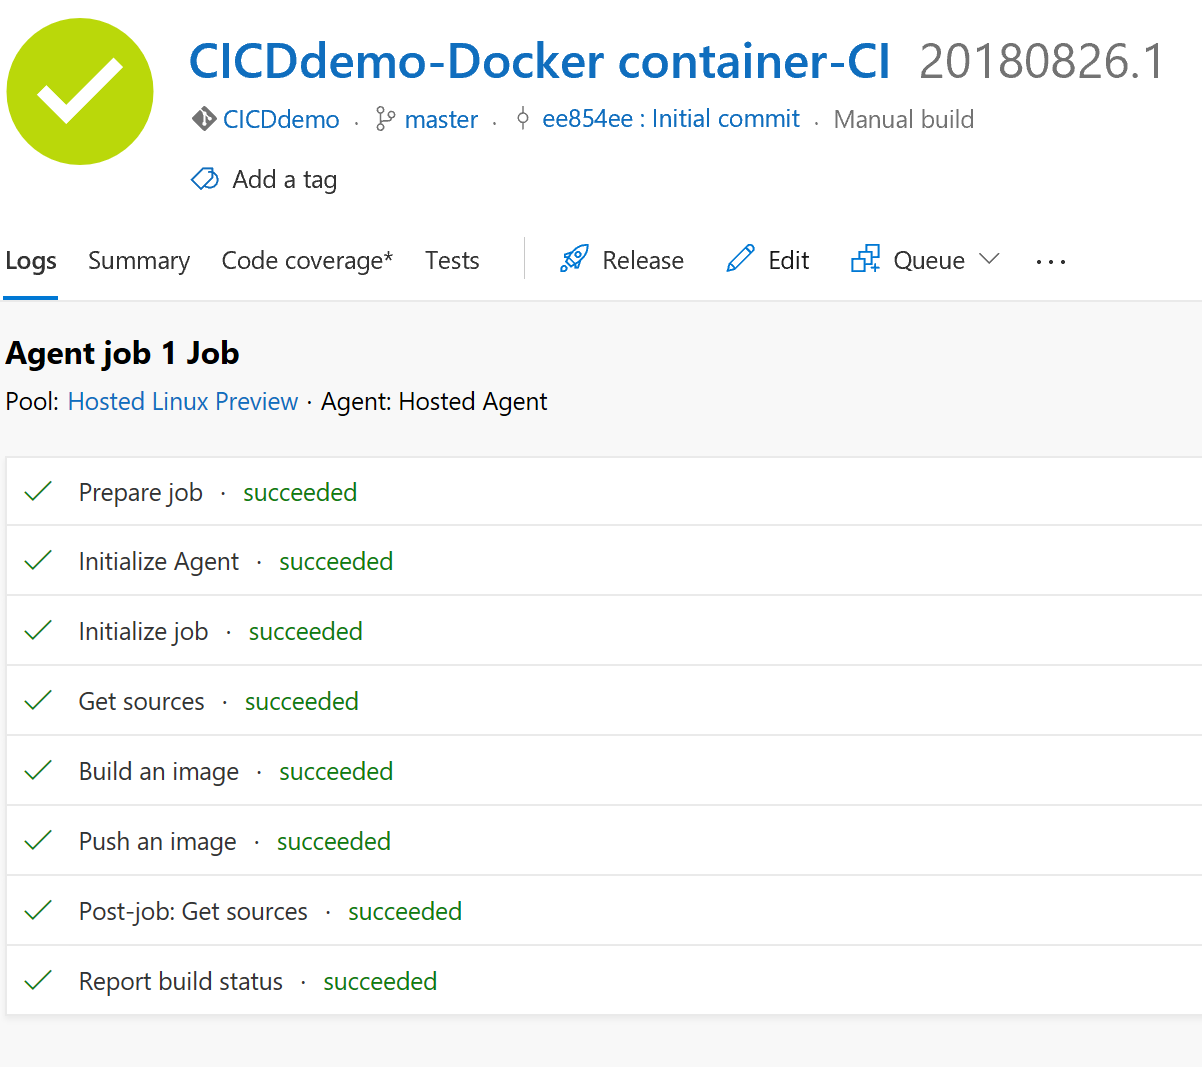
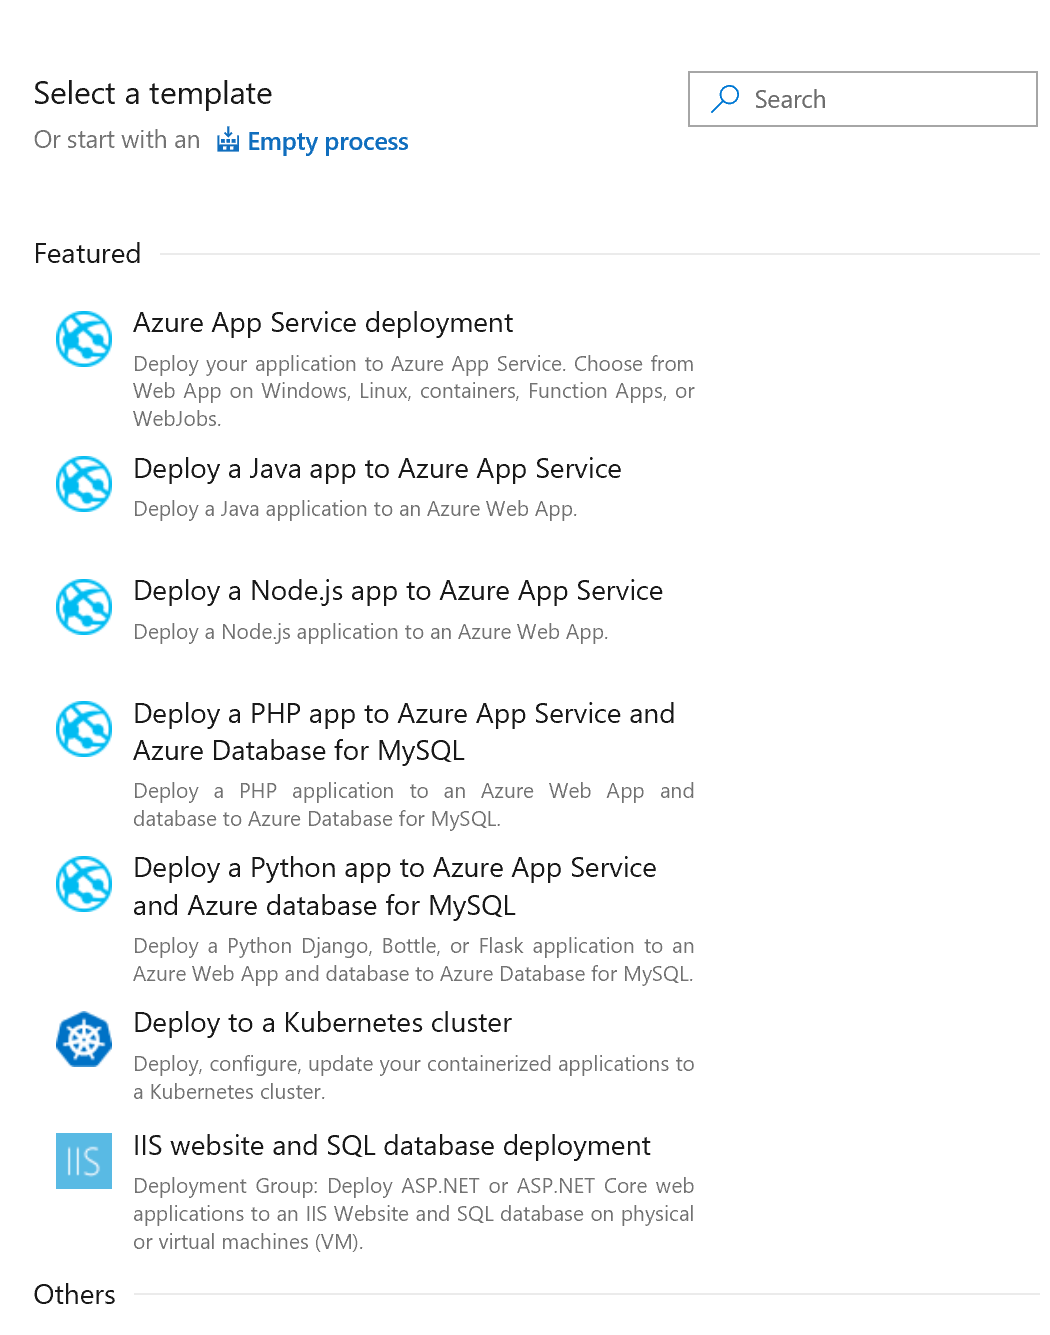
- We want to deploy our app to Kubernetes. Let’s choose this option from the list:
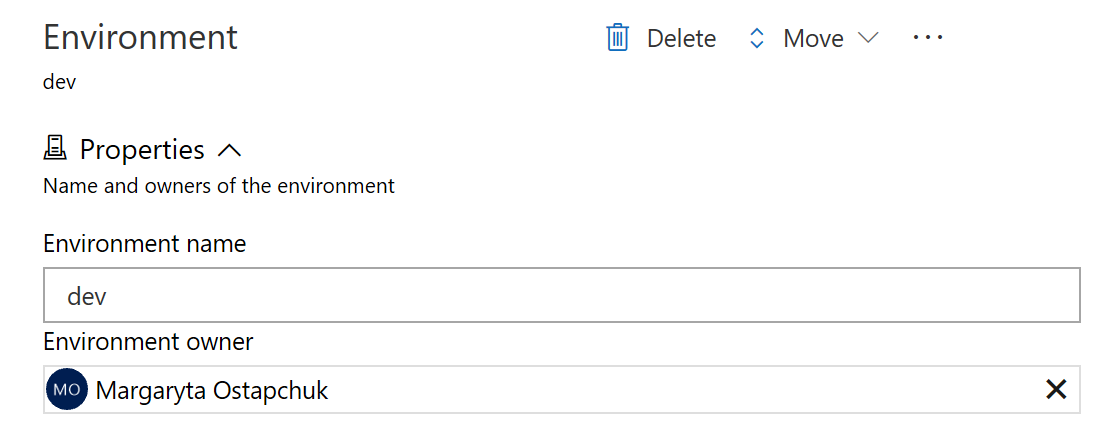
- Lets provide a name to out environment and call it ‘dev’ environment.
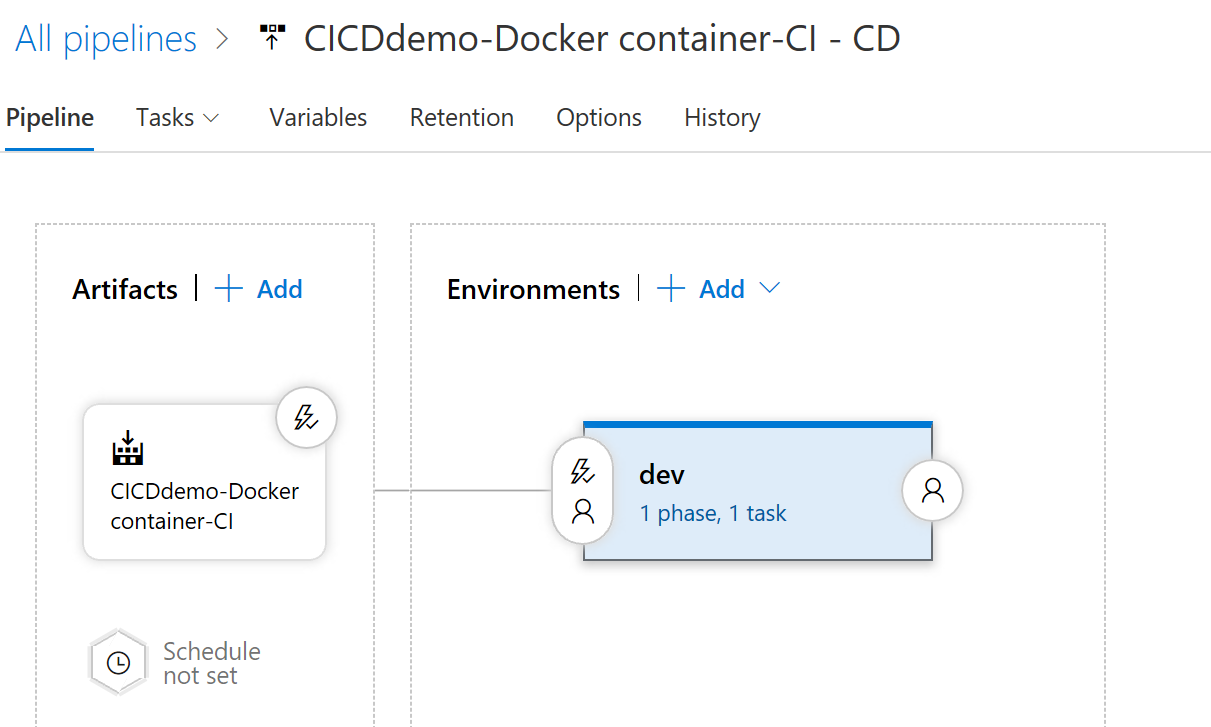
 We don’t have a save button, but don’t worry VSTS will save your changes.
 - VSTS already added an artifact, but we can delete existing one and choose another artifact, for example, image from our Azure Container registry
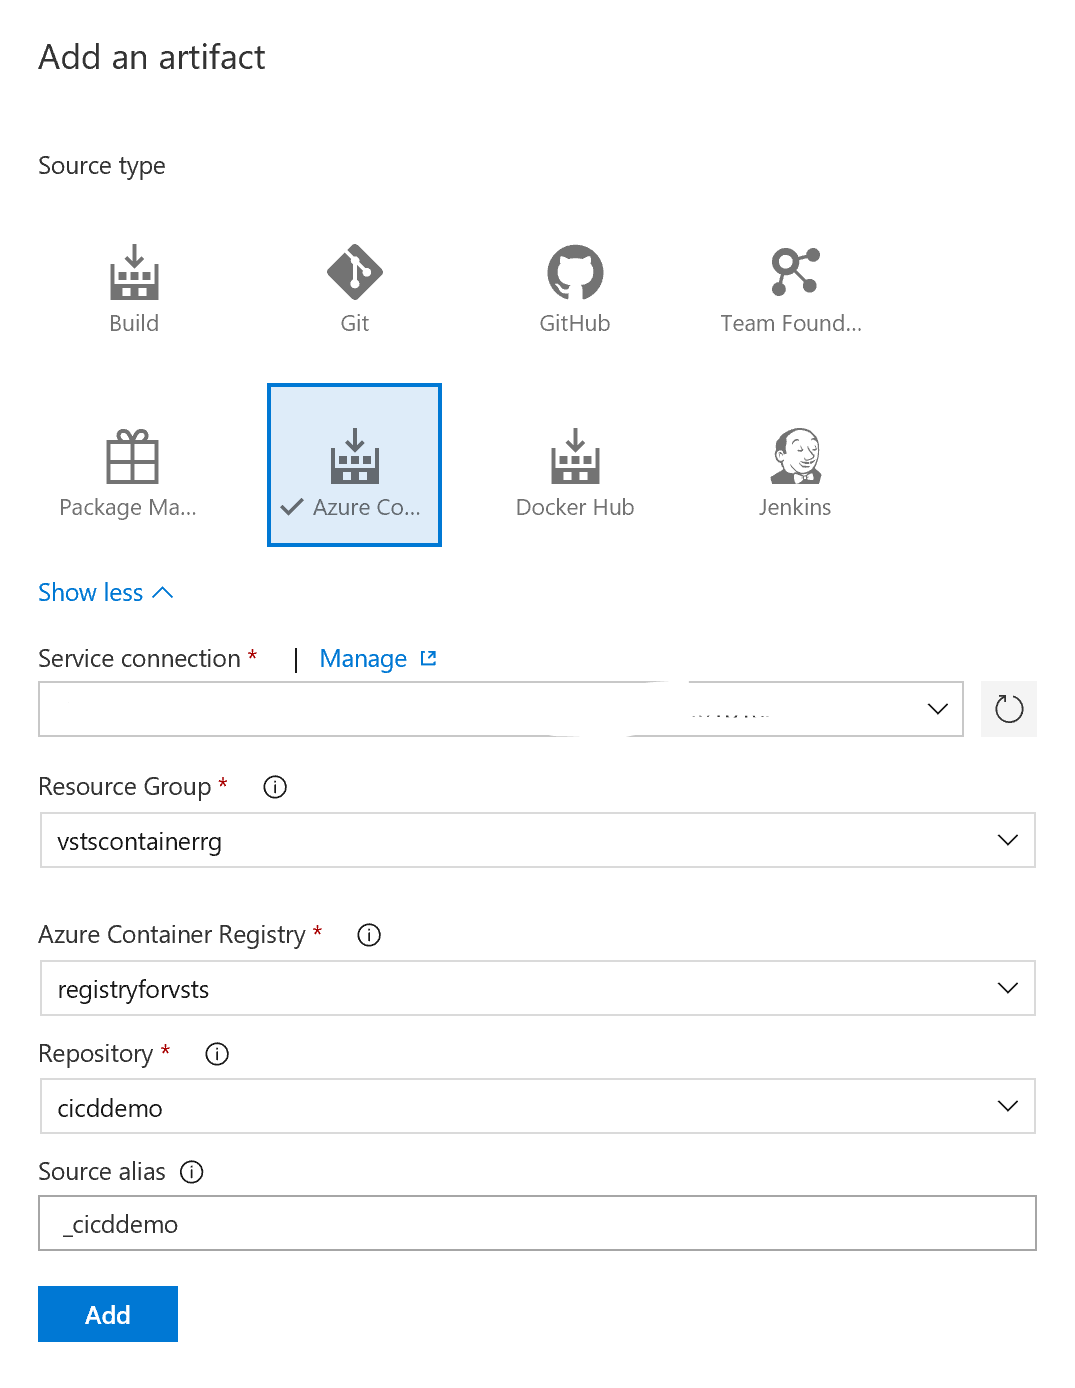
- So let’s select existing artifact and confirm that you want ot delete it. After we should add a new one. “Add button” gives you 3 options. Lets explore other artifacts types options by clicking on reference below. There you can find Azure Container Registry.
- We also can enable Continues deployment trigger.
 After click on Tasks in your dev environment tab.